What Are Microgreens? Learn How to Grow These Superfoods
Microgreens are a popular culinary trend because of their intense flavor and extraordinarily high vitamin content (a USDA study found that microgreens have five times more nutrients than mature plants). They've been used for years in high-end restaurants, but microgreens have become increasingly familiar to home cooks thanks to how quickly and easily they grow.
Even if you lack space for a garden, growing microgreens indoors near a sunny window (or under a grow light) is a snap. Within a few weeks, you can go from seeds to a crop of tiny, tasty edibles ready to snip and eat. Here's how to start growing microgreens yourself.
What Are Microgreens?
So, what are microgreens? Microgreens are vegetables and herbs grown from seeds and harvested at the seedling stage when they have only their seed leaves before their true leaves develop. Even though they're small, these plants pack a big, bold flavor. And it's that fabulous flavor that attracts cooks to microgreens. Broccoli microgreens taste like broccoli, only a bit stronger. Chives in microgreen form taste a little zestier than their mature selves. Cilantro microgreens have an even brighter flavor than full-grown cilantro leaves.
Don't confuse microgreens with sprouts, even though they look similar and both are seedlings. Microgreens are grown in soil, typically eaten fresh, and we eat only the seed leaves and stem. Sprouts are often grown without soil and eaten roots and all.
Microgreens Seeds
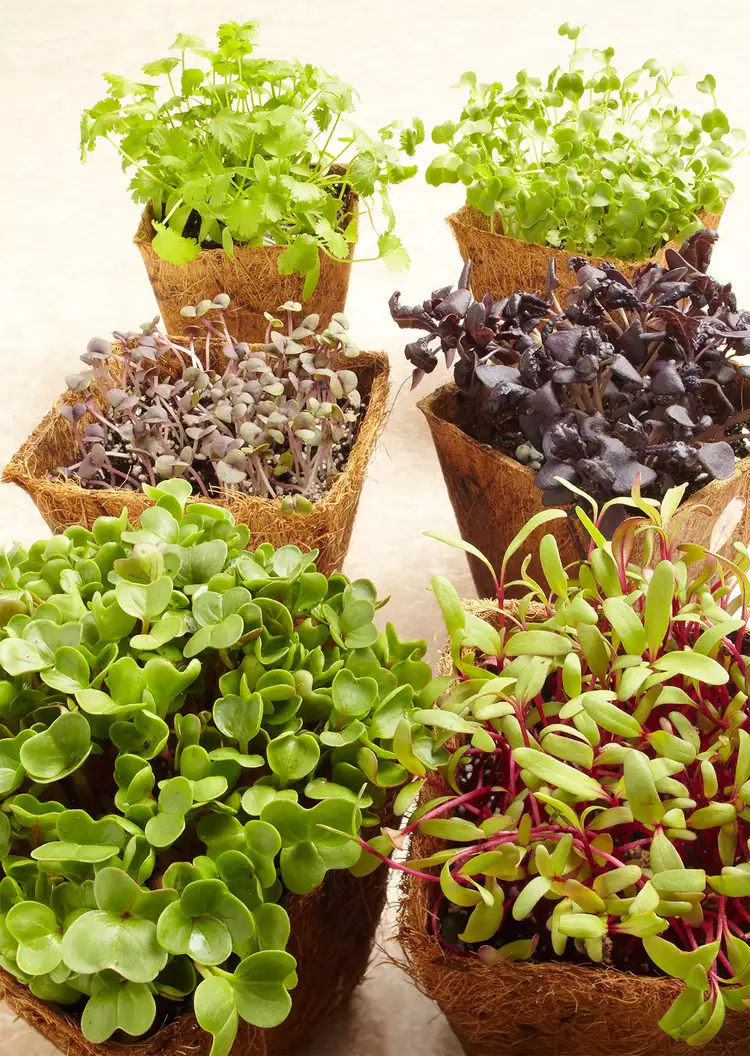
A surprising number of garden crops make excellent microgreens. You can purchase microgreens seeds and mixes online, but seeds from a garden center will work just fine, too. Here are a few popular seeds to grow for tasty microgreens:
How to Grow Microgreens
There are a few methods that home gardeners use to grow microgreens. The most popular and easiest way is to grow them indoors. You can create a simple setup if you don't want to purchase a microgreens kit like this automated Ingarden system ($160 and up, Ingarden). Here's what you'll need to grow microgreens:
- Shallow garden growing tray with drainage holes
- Shallow garden growing tray without drainage holes
- Organic potting soil
- Seeds
- Spray bottle filled with water
- Damp paper towels or clear acrylic seed-starting cover or dome
Add moist organic potting soil to the tray with holes to a depth of about one-and-a-half inches. Gently pat down the soil, breaking up any lumps. Sprinkle seeds liberally on top of the soil. Because microgreens are harvested when the plants are still tiny, they don't mind being crowded together. Edible gardening expert Barbara Damrosch recommends sprinkling seeds evenly over the tray with a colander. Top with just enough soil to cover the seeds.
Some large seeds, such as peas and sunflowers, may need to be soaked overnight and rinsed before planting; check the seed packet for directions. In addition, some large seeds don't need to be covered with a layer of soil; simply pat them into the soil so they can absorb enough water to germinate.
Use your spray bottle to thoroughly dampen the soil and settle it around the microgreens seeds. The gentle mist won't disturb seeds or soil. Cover your seed tray with damp, bleach-free paper towels or a plastic garden dome. Place the tray of seeds in the tray that doesn't have drainage holes to prevent leaks onto your counter or table. Set in a sunny (preferably a south-facing) window. An east-facing or west-facing window will work, but a north-facing window won't provide enough light.
What are Microgreen Care Needs?
Remove the paper towels or dome when sprouts start developing (around day three). To keep the soil moist, continue to mist several times a day or as needed. You also can water from below by removing the tray containing the seedlings, placing water in the bottom tray (or a bigger pan), then returning the seedling tray to soak. Fertilizer is not necessary.
Harvesting and Storing Microgreens
Your microgreens are ready to harvest when plants reach about 2 or 3 inches tall. Use a sharp chef’s knife or scissors to cut the seedlings about a half-inch above the soil. With a chef’s knife, you’ll get a bigger handful and do the job faster. Rinse the microgreens in cool water and blot with cloth or paper towels. You also can use a salad spinner to remove most of the water. Place the rinsed greens between paper towels and store in an airtight container in the refrigerator. They should last about a week.
Repeat Harvests
You can get up to three harvests from a seed bed, depending on the type of microgreens you're growing. However, the third crop may not be as tasty as the first two harvests, and the plants may be leggy. Damrosch also suggests flipping over the entire root-filled mat of potting mix and sowing more seeds on the newly exposed surface. After you harvest your last crop, toss your old potting mixture in your compost bin. Wash your seed trays well before starting a new batch of microgreens.